
The kitchen reads as one wall. Tall cabinet fronts run from floor to ceiling in a single soft color, the pulls are thin shadows, and the appliances have vanished behind matching panels. Nothing glints. The eye moves along the run without stopping, and the room feels larger for it.
That calm is a finish, not a cabinet. A local specialist in cabinet painting Chico homeowners call for a kitchen refresh will spend most of the job on work that never shows: cleaning, sanding, priming and drying. The thesis is simple. A painted cabinet wall succeeds when the surface is treated as architecture, one continuous plane, and fails when it is treated as furniture with a coat of color. The anatomy follows.
The Cabinet Plane
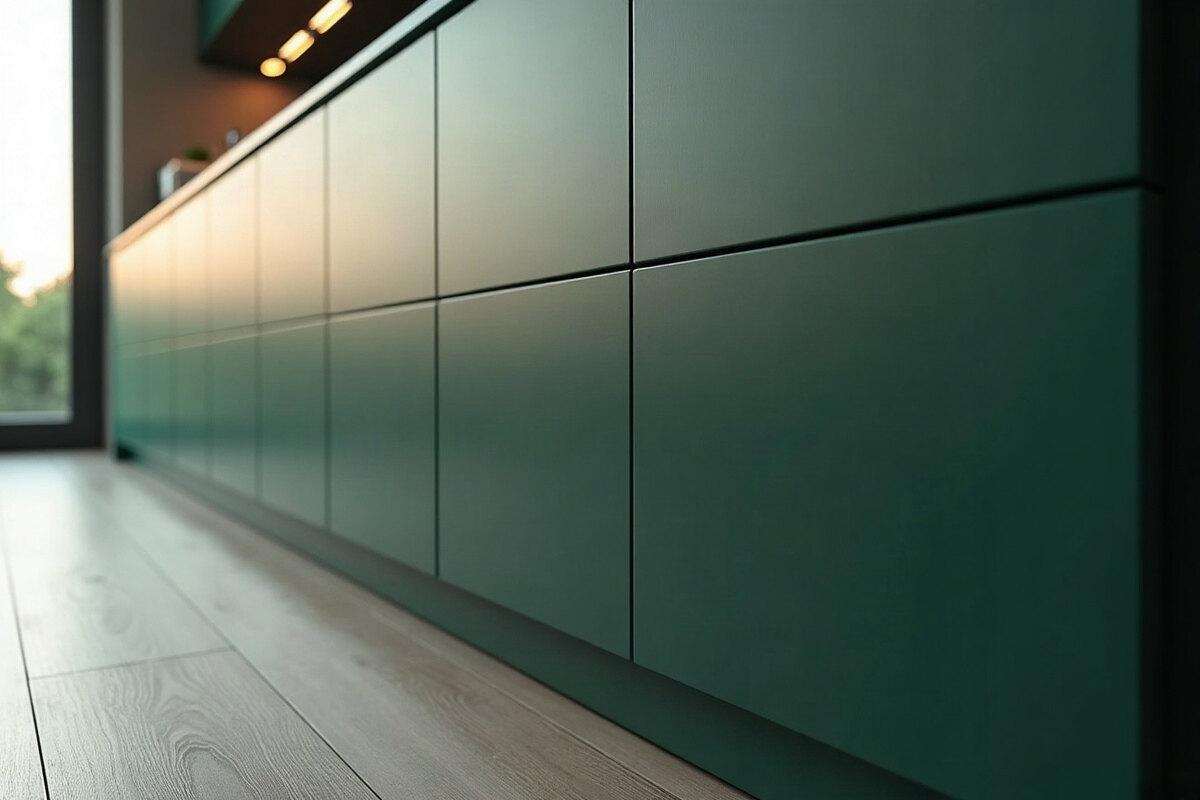
Modern kitchens have largely stopped showing their storage. The cabinet run has become a wall, and a wall is judged by flatness. Doors that sit in one plane, with even gaps between them, produce a surface that reads as a single object; doors that are slightly proud or slightly sunk break it into pieces.
Paint makes this more visible, not less. A dark stained finish hides small misalignments in its grain, while a flat, opaque color shows every uneven gap in raking light from a window. Before any color decision, the doors need adjusting so their reveals, the narrow shadow lines between panels, run straight and even along the whole length.
Door style matters too. Flat slab doors give the cleanest plane. A narrow shaker profile adds one quiet line of shadow. Heavy raised panels belong to another kind of room and rarely suit the treatment described here.
Old cabinets are often worth keeping for this reason. Solid boxes with sound doors can be realigned, repaired and refinished for a fraction of the disruption of a full replacement. The test is structural: boxes that are swollen from leaks or doors that have warped are better replaced than painted.
Preparation
This is the unglamorous section, and the decisive one. Kitchen cabinets carry years of cooking residue that paint will not bond to, so the first step is thorough degreasing. Then comes sanding to give the old finish a tooth, filling of dents and old hardware holes, and a primer chosen for the substrate underneath, whether solid timber, veneer or a factory lacquer.
Professionals usually remove the doors and drawer fronts and finish them flat, away from the kitchen, while the boxes are masked and painted in place. That separation is the difference between a factory-like result and a weekend one. A door painted on its hinges collects runs at its lower edge and brush marks across its face.
Climate plays a part. In a valley town with long, hot and dry summers, paint can skin over before it levels, which leaves visible texture. A careful painter adjusts timing, materials and ventilation to the season rather than fighting it.
The Finish
The finish is where opinion should be firm. Cabinets take more abuse than any wall: fingers, steam, splashes, the edge of a pan. They need a hard, cured coating designed for furniture and trim, not ordinary wall paint, and they need it applied in thin coats with full drying between them.
Sprayed finishes produce the flattest surface, with no brush marks at all. A fine brush-and-roller finish can come close on a skilled hand. Sheen is the other decision. Satin is the usual answer: soft enough to look calm, hard enough to wipe clean. Gloss reads as lacquer and suits a very deliberate, very flat door. Matte looks beautiful on day one and marks quickly in a working kitchen.
Curing
Dry is not cured. A finish that feels dry to the touch can still mark if doors are rehung and used heavily too soon. A good contractor explains how long the coating needs before full use and plans the job around it.
Color
In a kitchen that reads as one wall, color carries the architecture. Warm whites and soft grays let the room recede. Deep greens, inky blues and near-blacks turn the run into a solid volume, which works beautifully in a room with good daylight and badly in a dim one.
Two-tone schemes are worth caution. Dark lower cabinets with pale uppers can ground a tall room, but too many colors break the plane this whole approach depends on. The strongest kitchens choose one color for the cabinet wall and let the stone, timber and metal around it supply the variation.
Light
Paint is read by light, and kitchens get the hardest light in the house. Daylight from a long window skims across cabinet faces at a low angle, which exaggerates every ridge and brush mark. Evening light comes from above and below: pendants over the island, strips under the wall cabinets. Each one tests the finish differently.
The practical answer is to judge samples in place. A color that looks soft on a card can turn chalky under cool daylight or muddy under warm lamps. Painting a large sample board and leaving it in the kitchen for a few days, morning to night, shows how the color behaves. It is a small delay that prevents an expensive repaint.
Sheen interacts with light as well. A satin face spreads reflections into a soft glow. A high-gloss face mirrors the window, which looks deliberate on a dead-flat slab door and unforgiving on anything less. The choice belongs with the room’s light, not with a catalog image.
Hardware and Edges
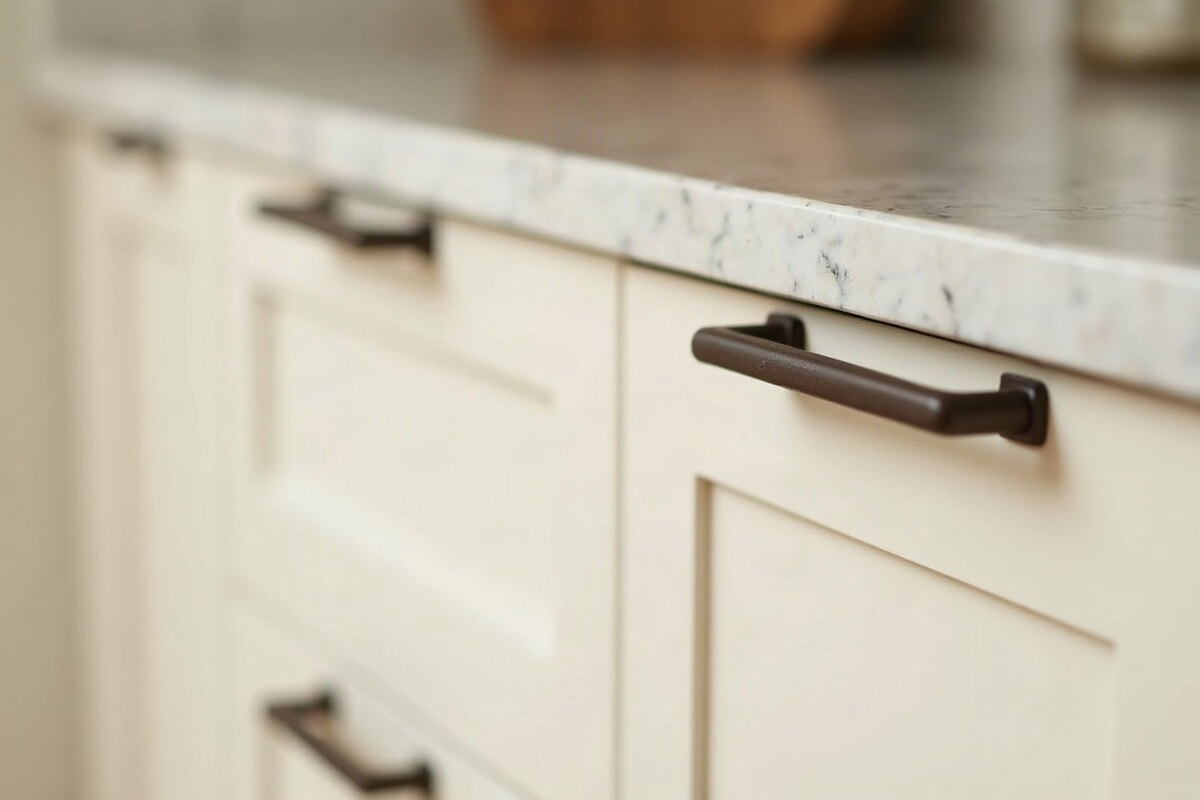
Hardware is where painted kitchens most often lose their nerve. A row of large, shiny handles turns a calm wall back into a set of doors. Finger pulls routed into the top edge, slim bar pulls in a dark finish, or push-to-open latches keep the surface quiet.
Edges deserve as much care as faces. Paint wears first at the corners and along the leading edge of a drawer. A slightly eased edge, rather than a razor-sharp one, holds paint longer. The interior faces of doors, often skipped, should be finished too, because they are seen every time the cabinet opens.
Systems
The integrated kitchen is judged by what it removes. Appliances behind panels, lighting tucked under cabinets, outlets set inside an appliance garage rather than scattered along the backsplash. Every visible device is a small interruption to the plane.
Painting is the moment to coordinate this. Panel-ready appliances can be finished in the same color as the run. Under-cabinet light strips should be planned before painting, so the fixings and channels are hidden rather than cut into a fresh finish later. Any new lighting circuit or outlet is electrical work for a licensed electrician, scheduled before the painter’s final coats, not after.
Ventilation is part of the system too. A good range hood, concealed within the cabinet run, protects the new finish from grease and steam. Without it, the cleanest paintwork dulls within a few seasons.
Material Palette
- Cabinet faces: a hard, cured satin enamel in a warm off-white, because it wipes clean and lets the run read as one wall.
- Primer: a bonding primer matched to the old finish, because adhesion is decided before the first color coat.
- Pulls: slim bar pulls in a dark bronze finish, because they read as shadow lines rather than objects.
- Countertop: honed quartzite, because its matte face matches the calm of the painted plane.
- Backsplash: plain lime plaster sealed for wet zones, because it adds texture without a grid of grout lines.
- Floor: white oak in a matte oil, because warm timber offsets a cool, uniform cabinet wall.
How It Comes Together
A painted cabinet wall works when everything around it agrees. The doors align. The finish is hard and flat. The hardware whispers. The lights, outlets and appliances sit behind the plane instead of on it. Most of that is decided in preparation, long before the color goes on.
Paint is the cheapest way to make a kitchen look built-in, and the easiest way to make it look cheap; the difference lies entirely in the work underneath.